

Adding documents
Add documents to a workflow three ways:- Manually: upload through the interface
- Via API: send documents programmatically
- Cloud storage: import from Microsoft OneDrive or SharePoint. See Cloud storage.
Document statuses
Each document has a status that reflects its state: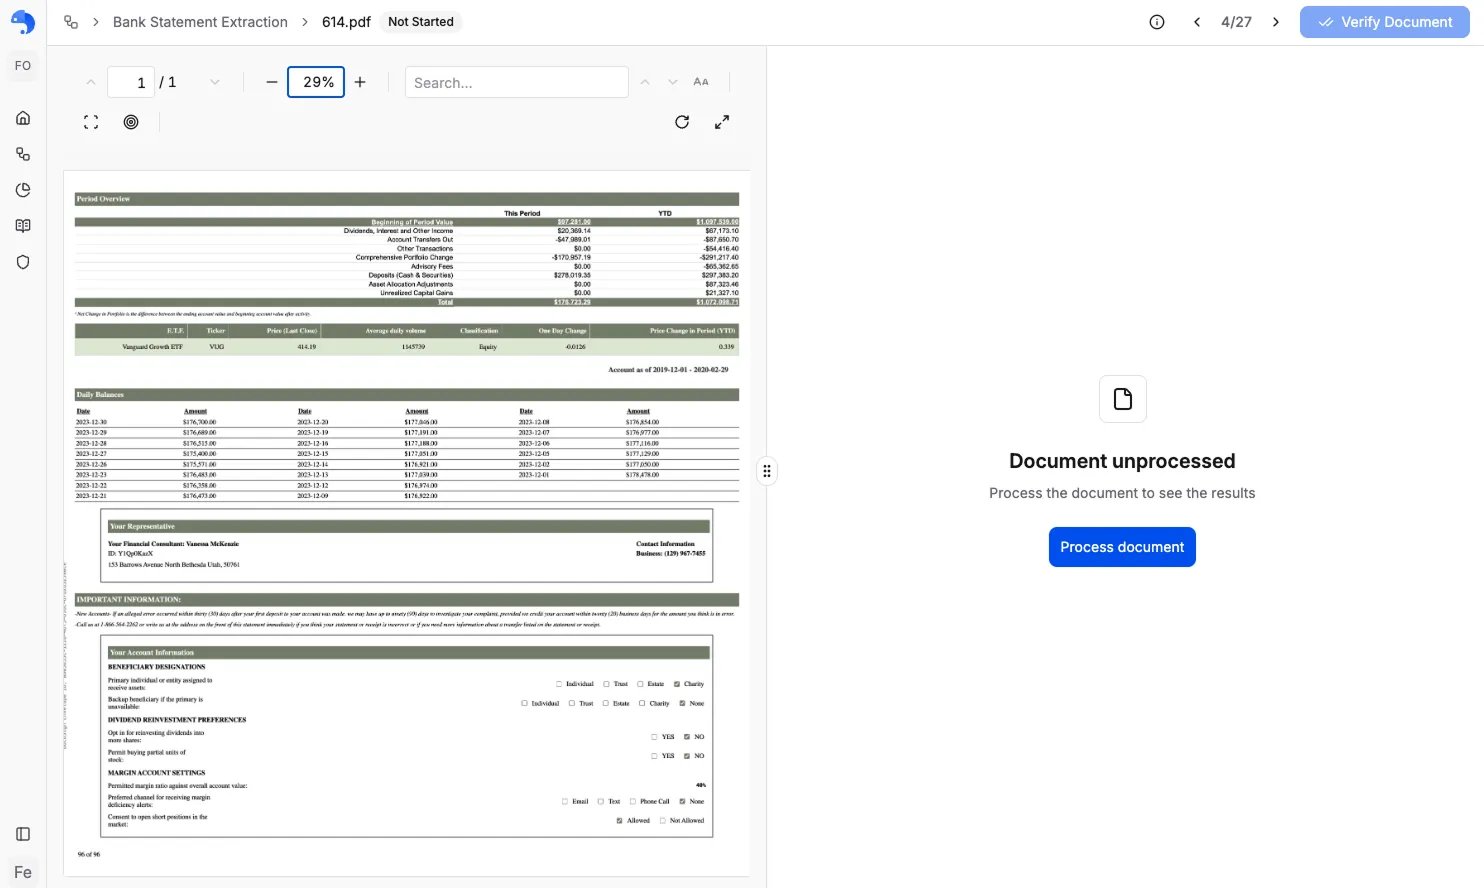
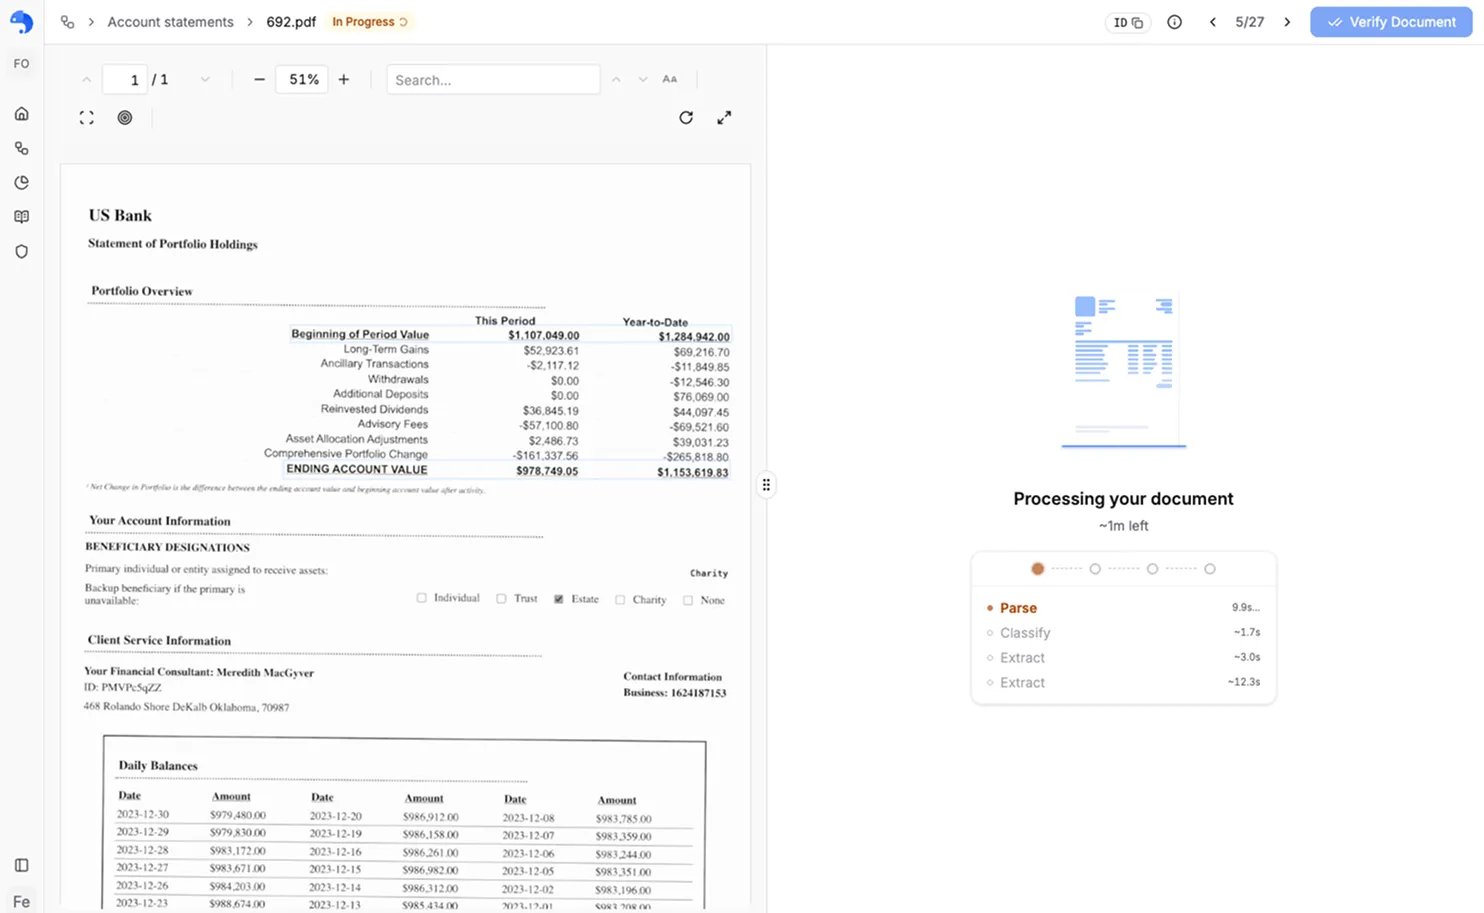
Running a workflow
Two ways start processing:- In bulk, from the table: select the unprocessed documents and click Run.
- One at a time, from the document view: open a document by clicking its filename in the table, then click Process document in the panel on the right. After an error, the same button reads Process again.
- Document size
- Number of pages
- Current system load
If a document ends up in Error, open it and click Process again. Errors are usually temporary, or caused by an unreadable file. An errored document is not counted toward usage. If it keeps failing, check that the file is not corrupted or password-protected.
Viewing results
As soon as a document finishes processing, its results appear. You do not refresh. View them two ways:Table view
Review all your documents at once. The first tab shows one row per document and one column per field. Further tabs show each node’s output: Parse, Classify, Split, Extraction, Validation.
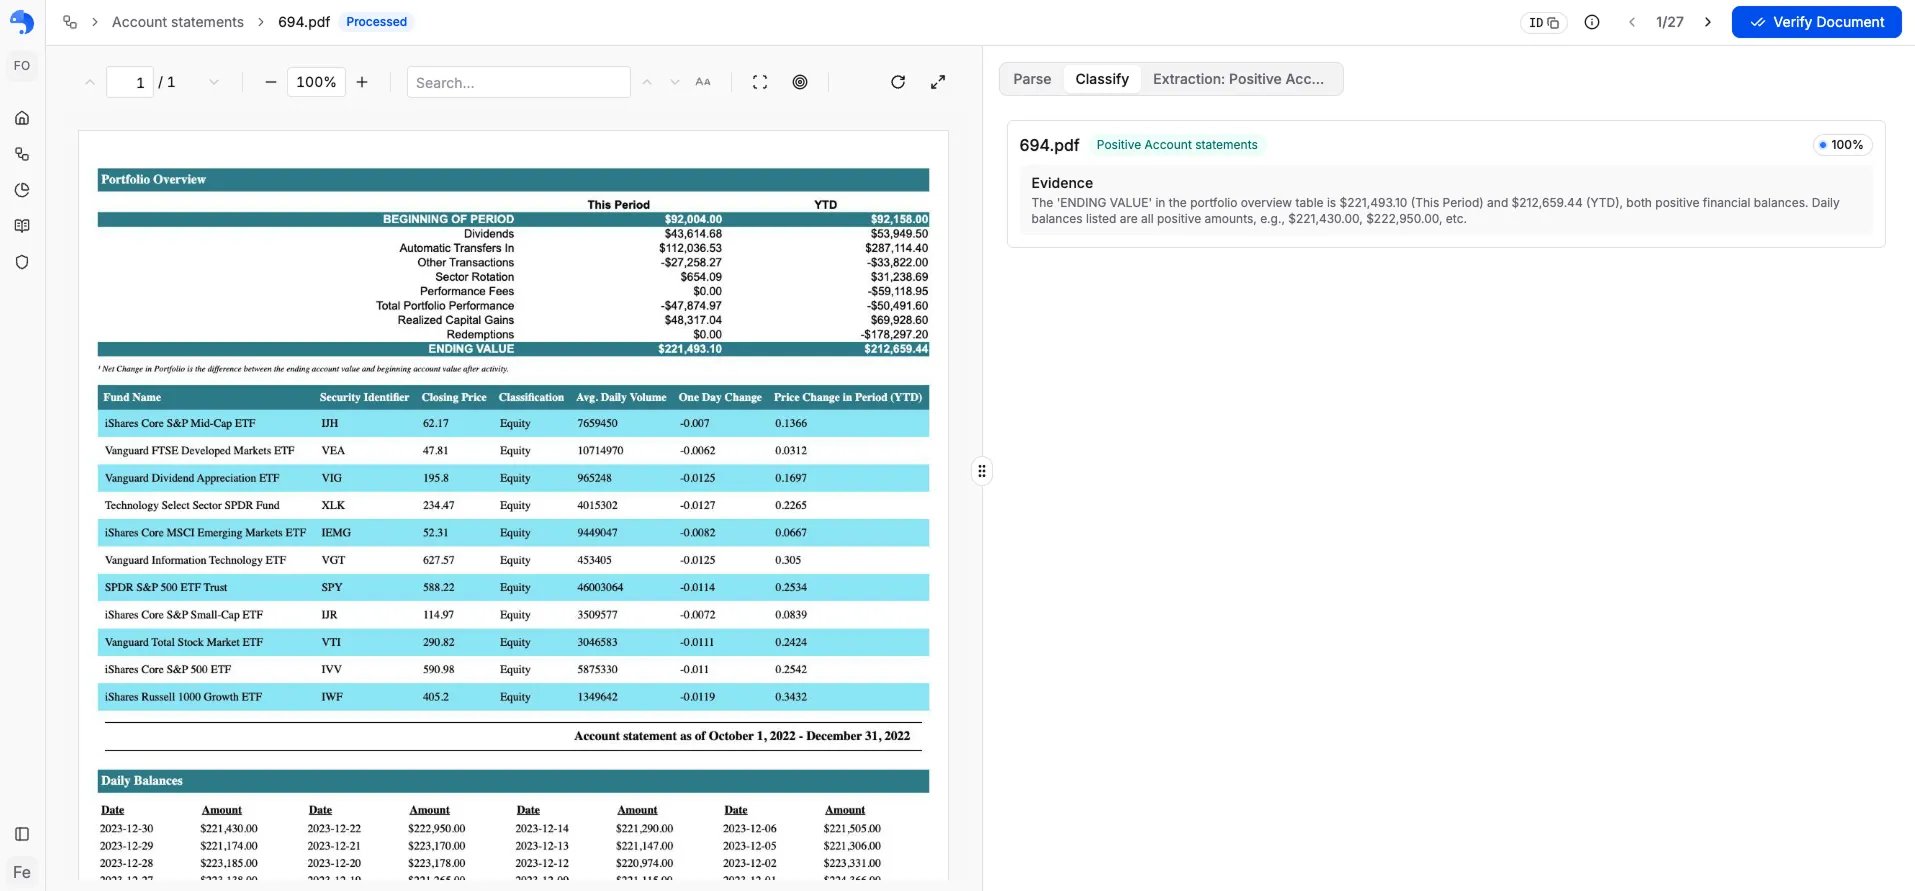
Document view
Click a filename to open one document on its own, with each value highlighted on the page it came from. It carries the same per-node tabs as the table view.
Exporting results
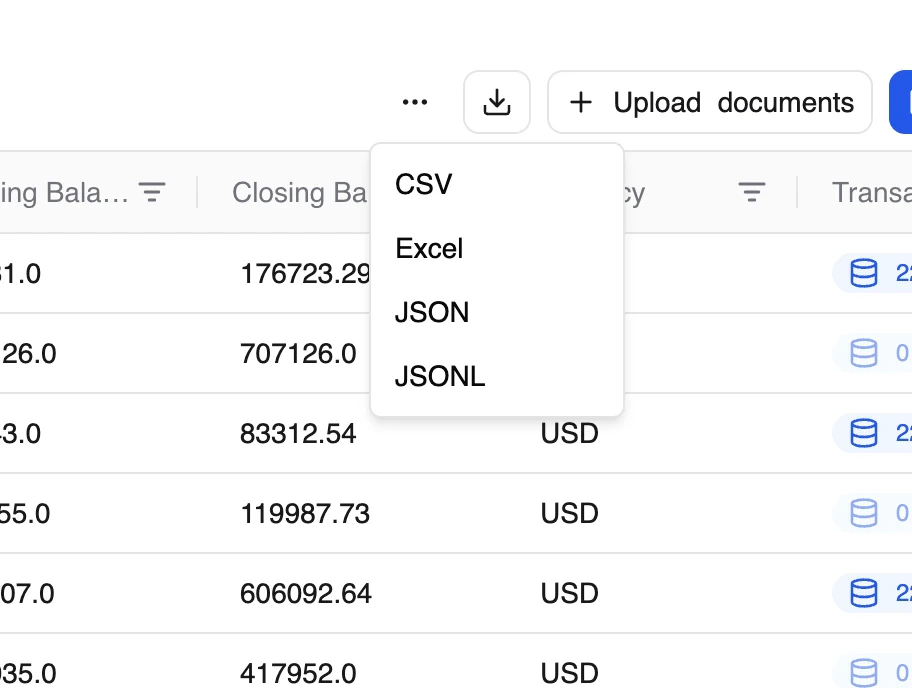
From the workflow view, download processed results in:- CSV: for spreadsheets and data analysis
- Excel: for business users
- JSON: for integrations and automation
- All documents at once
- Selected documents
- One document, as a row-level export
What’s next?
Verification & Review
How to verify and correct extracted data
Analytics & Quality
Monitor and improve quality